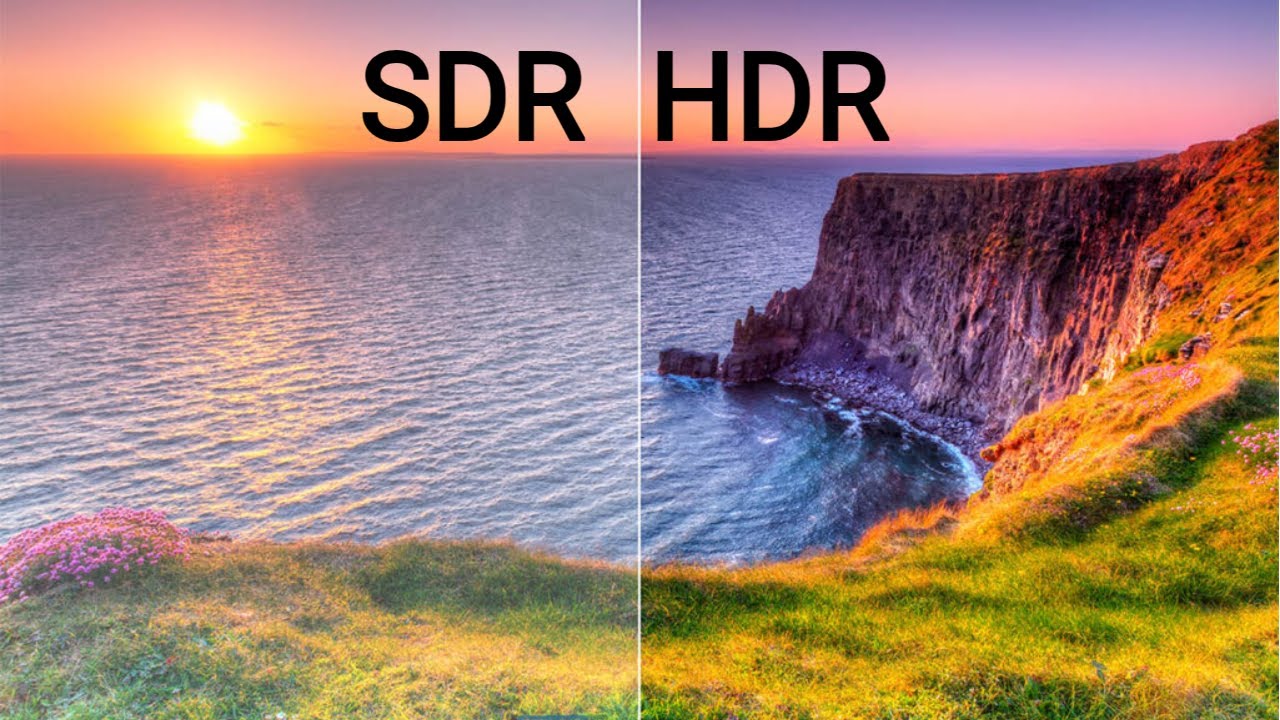
Recently, I added HDR support to Spartan, expecting it to be a quick task. However, it turned into a full day’s work. The main issue? I could only find bits and pieces of code and no all-in-one blog posts. So, I’ve decided to simplify things for you. Let’s dive straight in and aim to get HDR up and running in under 10 minutes.
Step 1 - Swapchain
First stop, the swapchain. Opt for the VK_FORMAT_A2B10G10R10_UNORM_PACK32 (DXGI_FORMAT_R10G10B10A2_UNORM) format and the VK_COLOR_SPACE_HDR10_ST2084_EXT (DXGI_COLOR_SPACE_RGB_FULL_G2084_NONE_P2020) color space.
While other combinations are possible, I recommend sticking to these for the purposes of this post.
Step 2 - Output
At the tail end of your rendering pipeline, there’s typically a shader that, in SDR scenarios, applies tonemapping and gamma correction. For HDR, you can skip tonemapping (which typically compresses into SDR) and gamma correction. Instead, use the following approach:
float3 linear_to_hdr10(float3 color, float white_point)
{
    // Convert Rec.709 to Rec.2020 color space to broaden the palette
    static const float3x3 from709to2020 =
    {
        { 0.6274040f, 0.3292820f, 0.0433136f },
        { 0.0690970f, 0.9195400f, 0.0113612f },
        { 0.0163916f, 0.0880132f, 0.8955950f }
    };
    color = mul(from709to2020, color);

    // Normalize HDR scene values ([0..>1] to [0..1]) for ST.2084 curve
    const float st2084_max = 10000.0f;
    color *= white_point / st2084_max;

    // Apply ST.2084 (PQ curve) for HDR10 standard
    static const float m1 = 2610.0 / 4096.0 / 4;
    static const float m2 = 2523.0 / 4096.0 * 128;
    static const float c1 = 3424.0 / 4096.0;
    static const float c2 = 2413.0 / 4096.0 * 32;
    static const float c3 = 2392.0 / 4096.0 * 32;
    float3 cp             = pow(abs(color), m1);
    color                 = pow((c1 + c2 * cp) / (1 + c3 * cp), m2);

    return color;
}
- White point: Typically a value around 350. You might hardcode this value into the shader to get going.
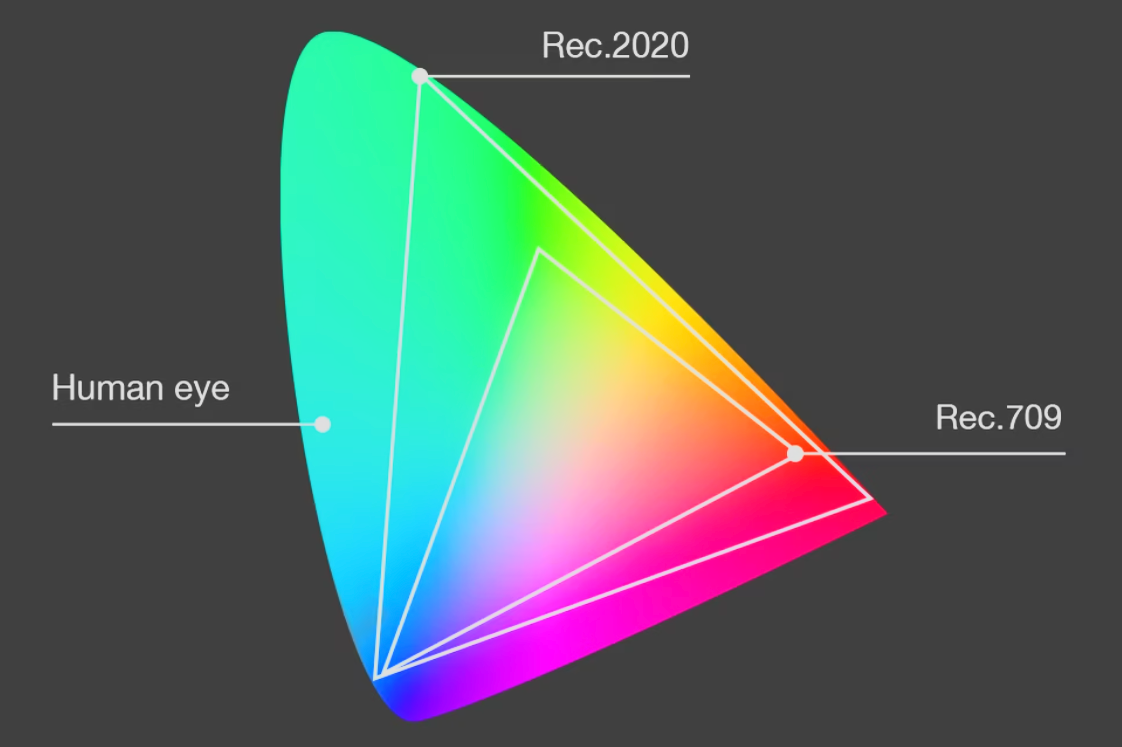
- Rec.709 vs. Rec.2020: Rec.709 defines the standard color space for HD, Rec.2020 broadens this palette for UHD content.
- ST.2084 (PQ Curve): The PQ curve, central to the HDR10 standard, maps brightness levels to align with human visual perception, capable of displaying up to 10,000 nits.
Step 3 - Materials
Your material textures are usually in the sRGB color space. For HDR, ensuring precise linearisation of these textures is important. Typically you would sample your textures with a simple power function approach, like so:
float3 srgb_to_linear(float3 color)
{
    float gamma = 2.2f;
    return pow(color, gamma);
}
This method falls short for HDR, especially with modern capable monitors which aim for the sRGB standard rather than a simpler gamma 2.2 curve. For more accurate color representation, use this instead (and a good monitor):
float3 srgb_to_linear(float3 color)
{
    float gamma        = 2.4f; // The sRGB curve for mid tones to high lights resembles a gamma of 2.4
    float3 linear_low  = color / 12.92;
    float3 linear_high = pow((color + 0.055) / 1.055, gamma);
    float3 is_high     = step(0.0404482362771082, color);
    return lerp(linear_low, linear_high, is_high);
}
The above function accounts for the sRGB standard’s nuanced behavior with both a piecewise linear and a non-linear curve, providing better color accuracy (especially with darker tones). This approach goes beyond the simpler gamma 2.2 curve that many displays target, aligning more closely with modern displays aiming for the sRGB standard with a 2.4 gamma.
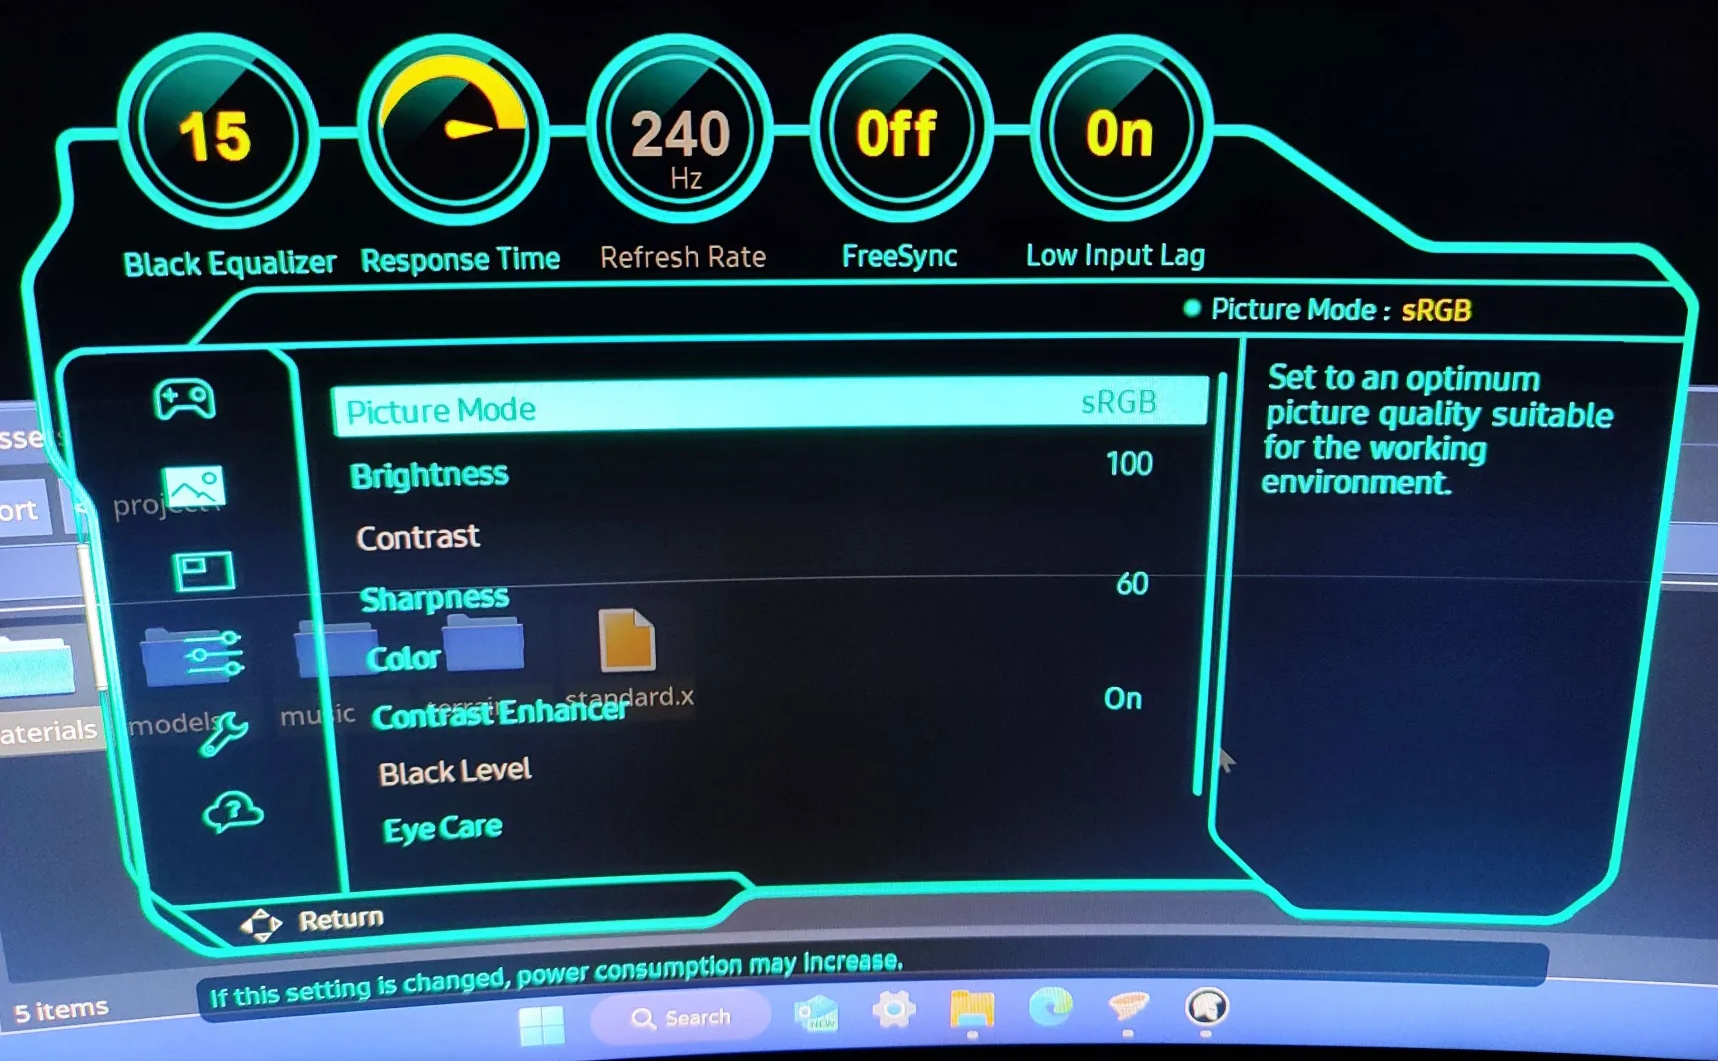
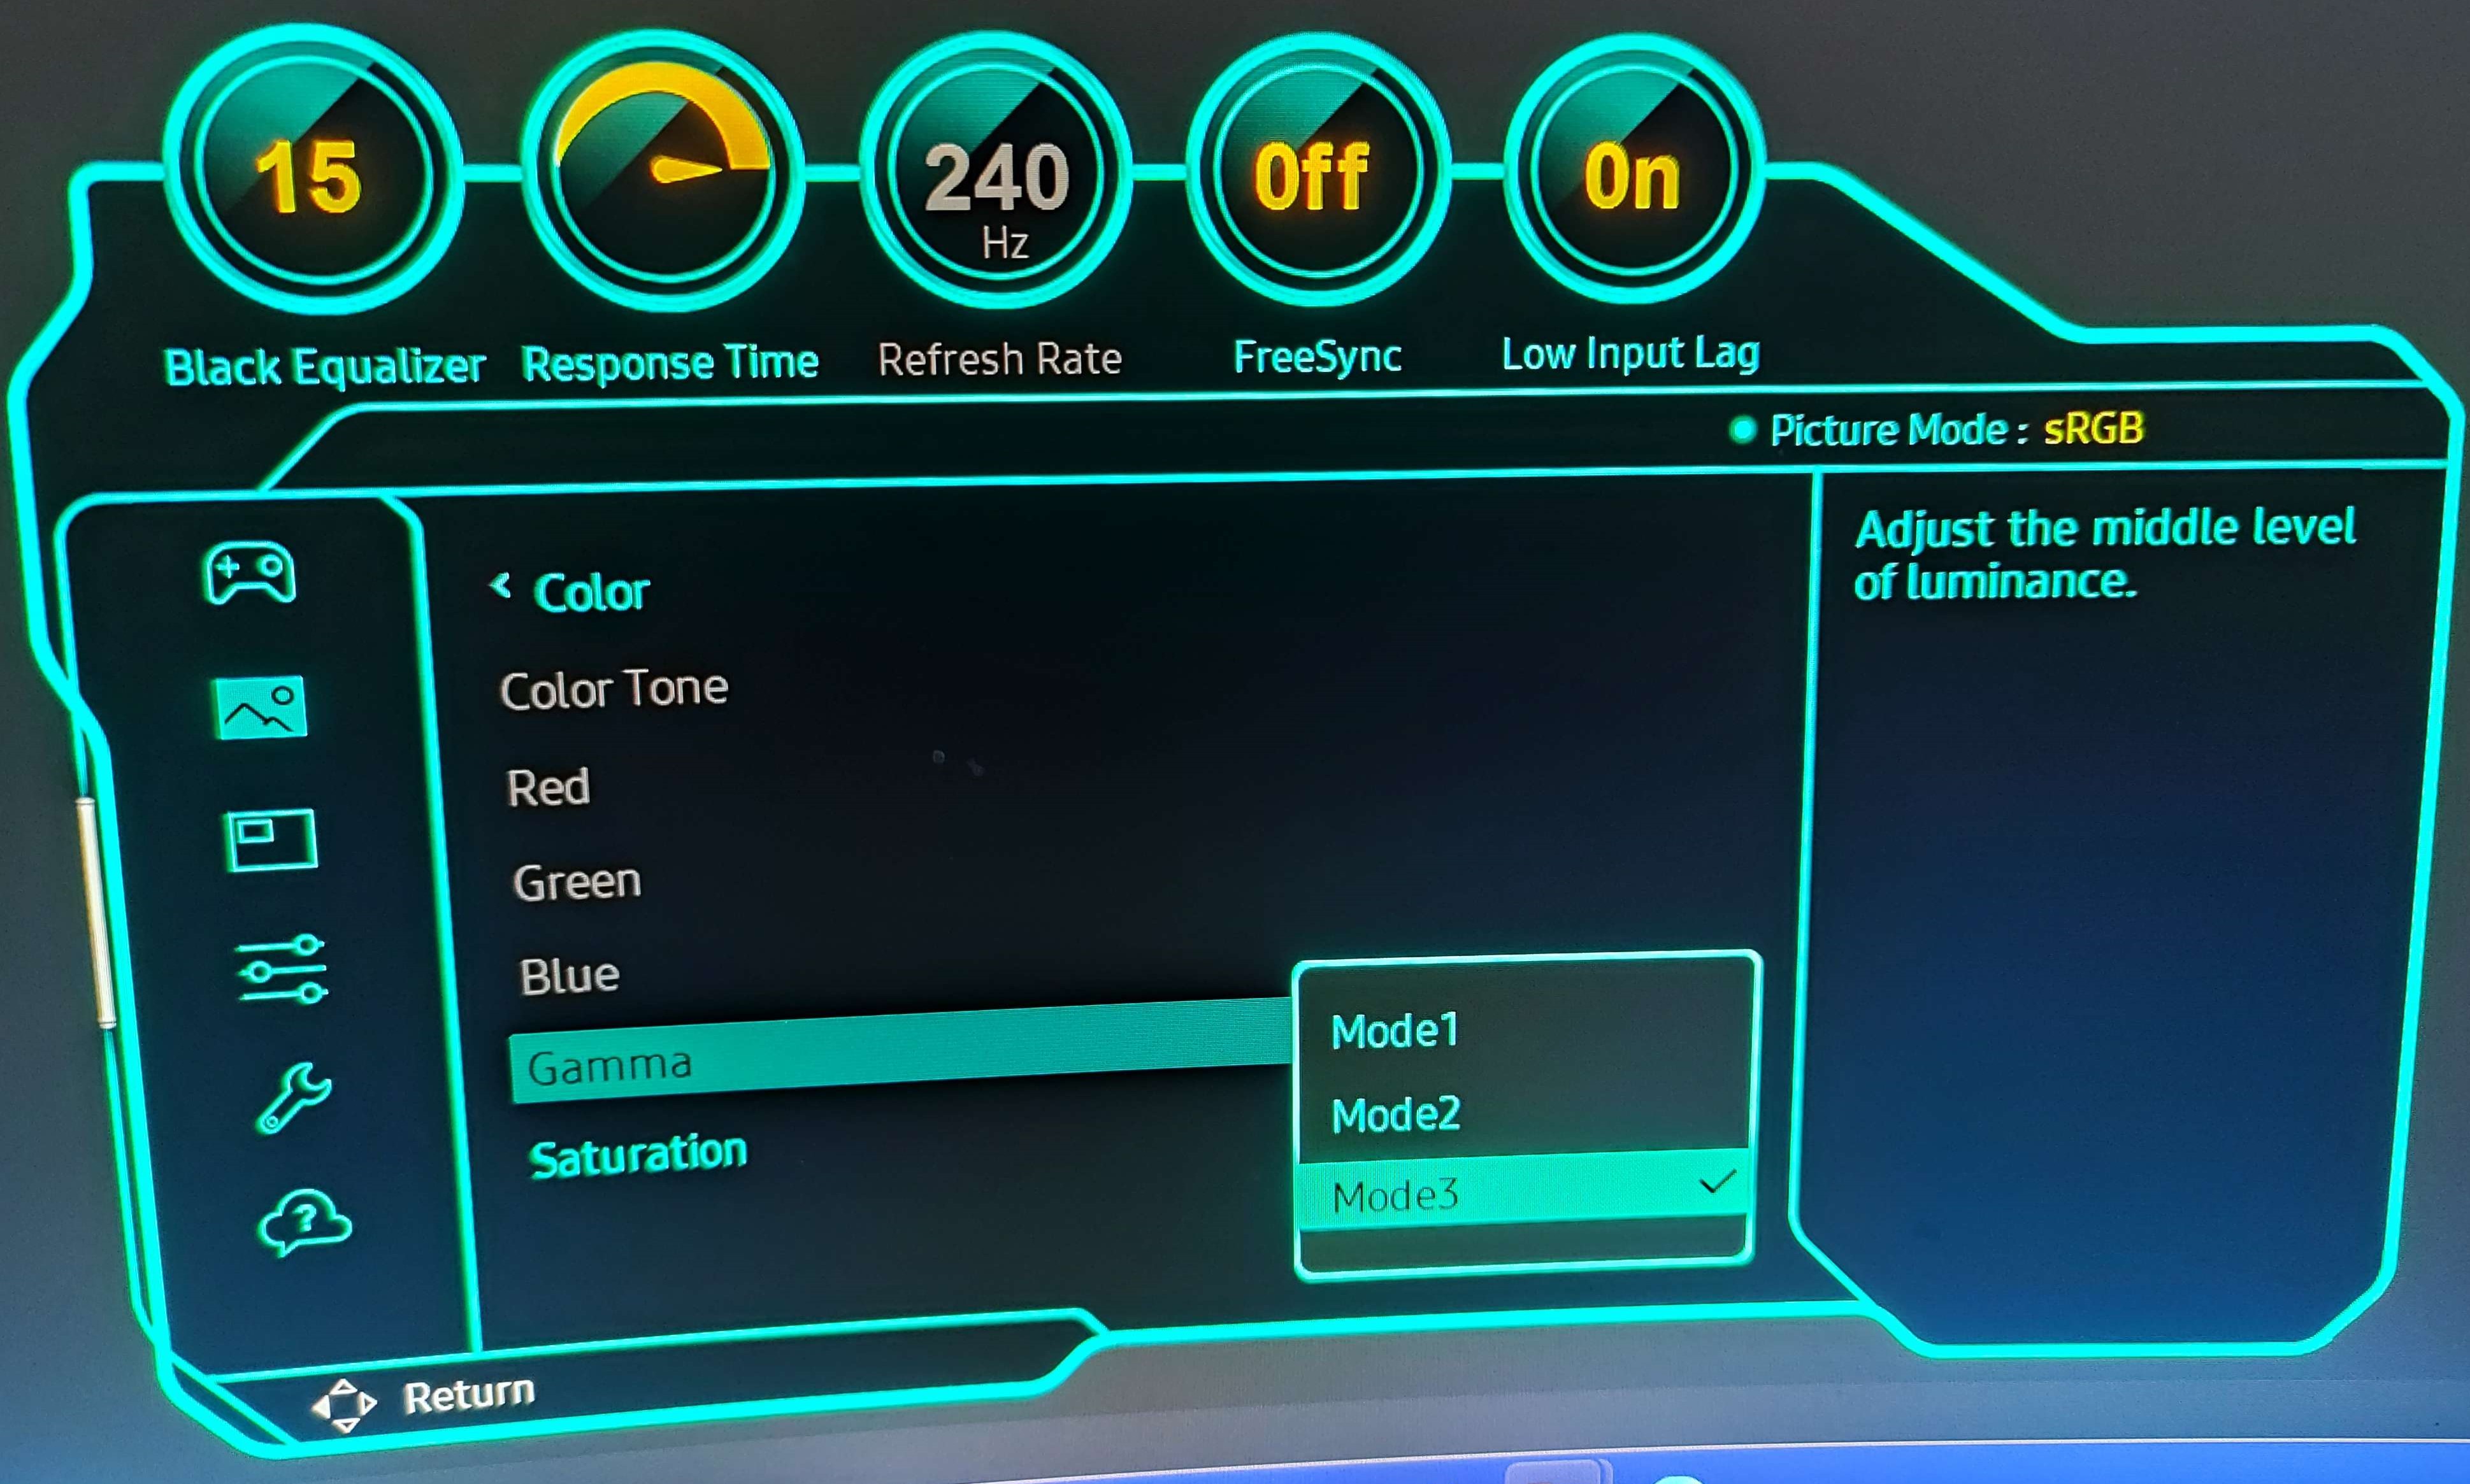
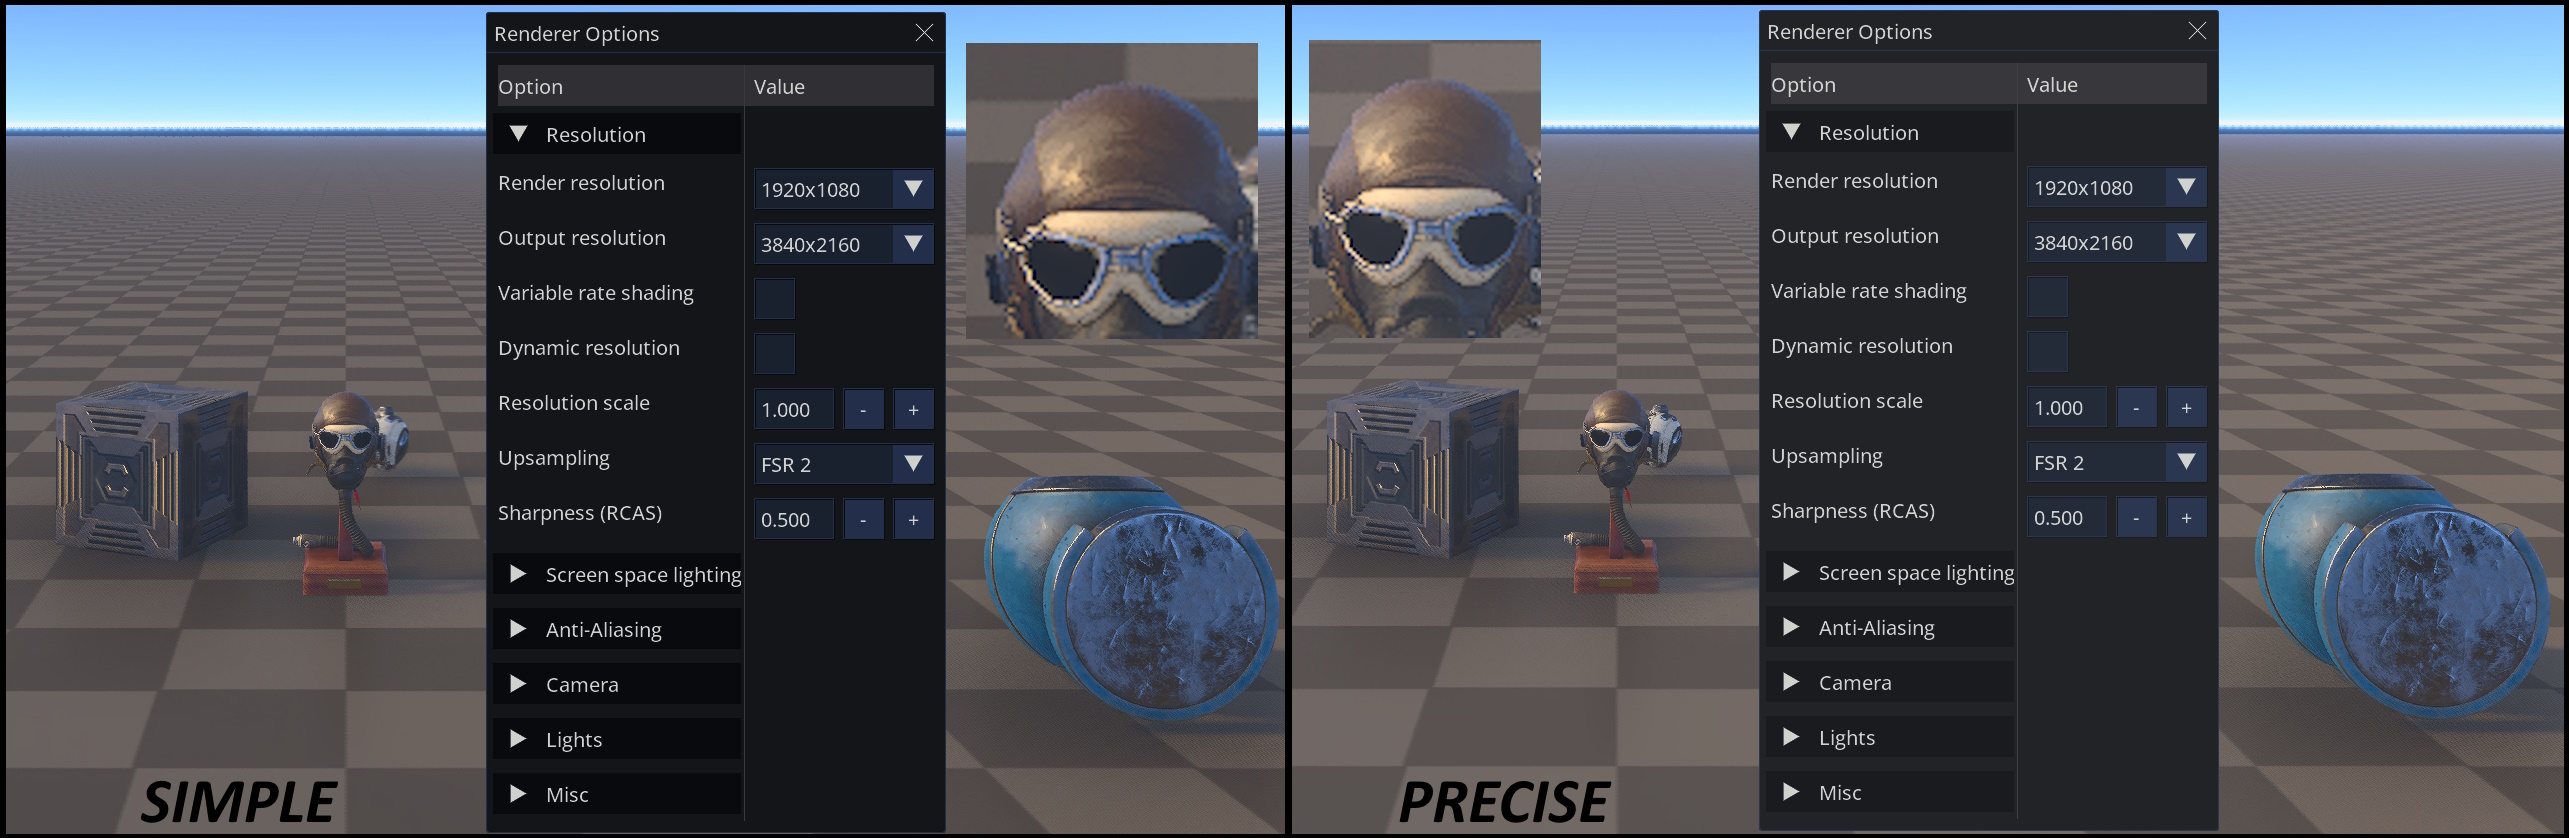
For example, this is the Samsung Odyssey Neo G8 targeting sRGB and a 2.4 gamma.
Let’s look at the image below, observe the obvious color shifts in darker areas (say ImGui) and subtle changes in brighter spots (say the helmet). The improvements are best seen on modern HDR monitor, the screenshots can only convey so much.
Note: You could also use sRGB texture formats to bypass manual linearisation.
Conclusion
There you have it. Enjoy the enhanced visual fidelity!
